

Simple Fresh Roasted Tomato Sauce
A super easy method for turning your fresh garden tomatoes into an amazing sauce.

Wondering what to do with all those tomatoes from your garden?
Make sauce!

Some folks will tell you that you have to use only certain types of tomatoes to make sauce and I’m here to bust that myth. I make sauce out of any and every kind of tomato I grow. I also don’t bother to peel or seed them! If you have a really good blender, then the seeding and peeling becomes unnecessary. I just throw it all in my Vitamix and I’m good to go. This saves so much time.
I often do this with just the fresh raw tomatoes, it makes the most amazing fresh tomato sauce you can imagine. A few garlic cloves, a little salt, some basil leaves if you like - blend it all until smooth and serve. This also freezes really well, and it’s wonderful to have that fresh taste of summer in the middle of a long, cold winter.
But today I’m going to tell you about roasted tomato sauce.
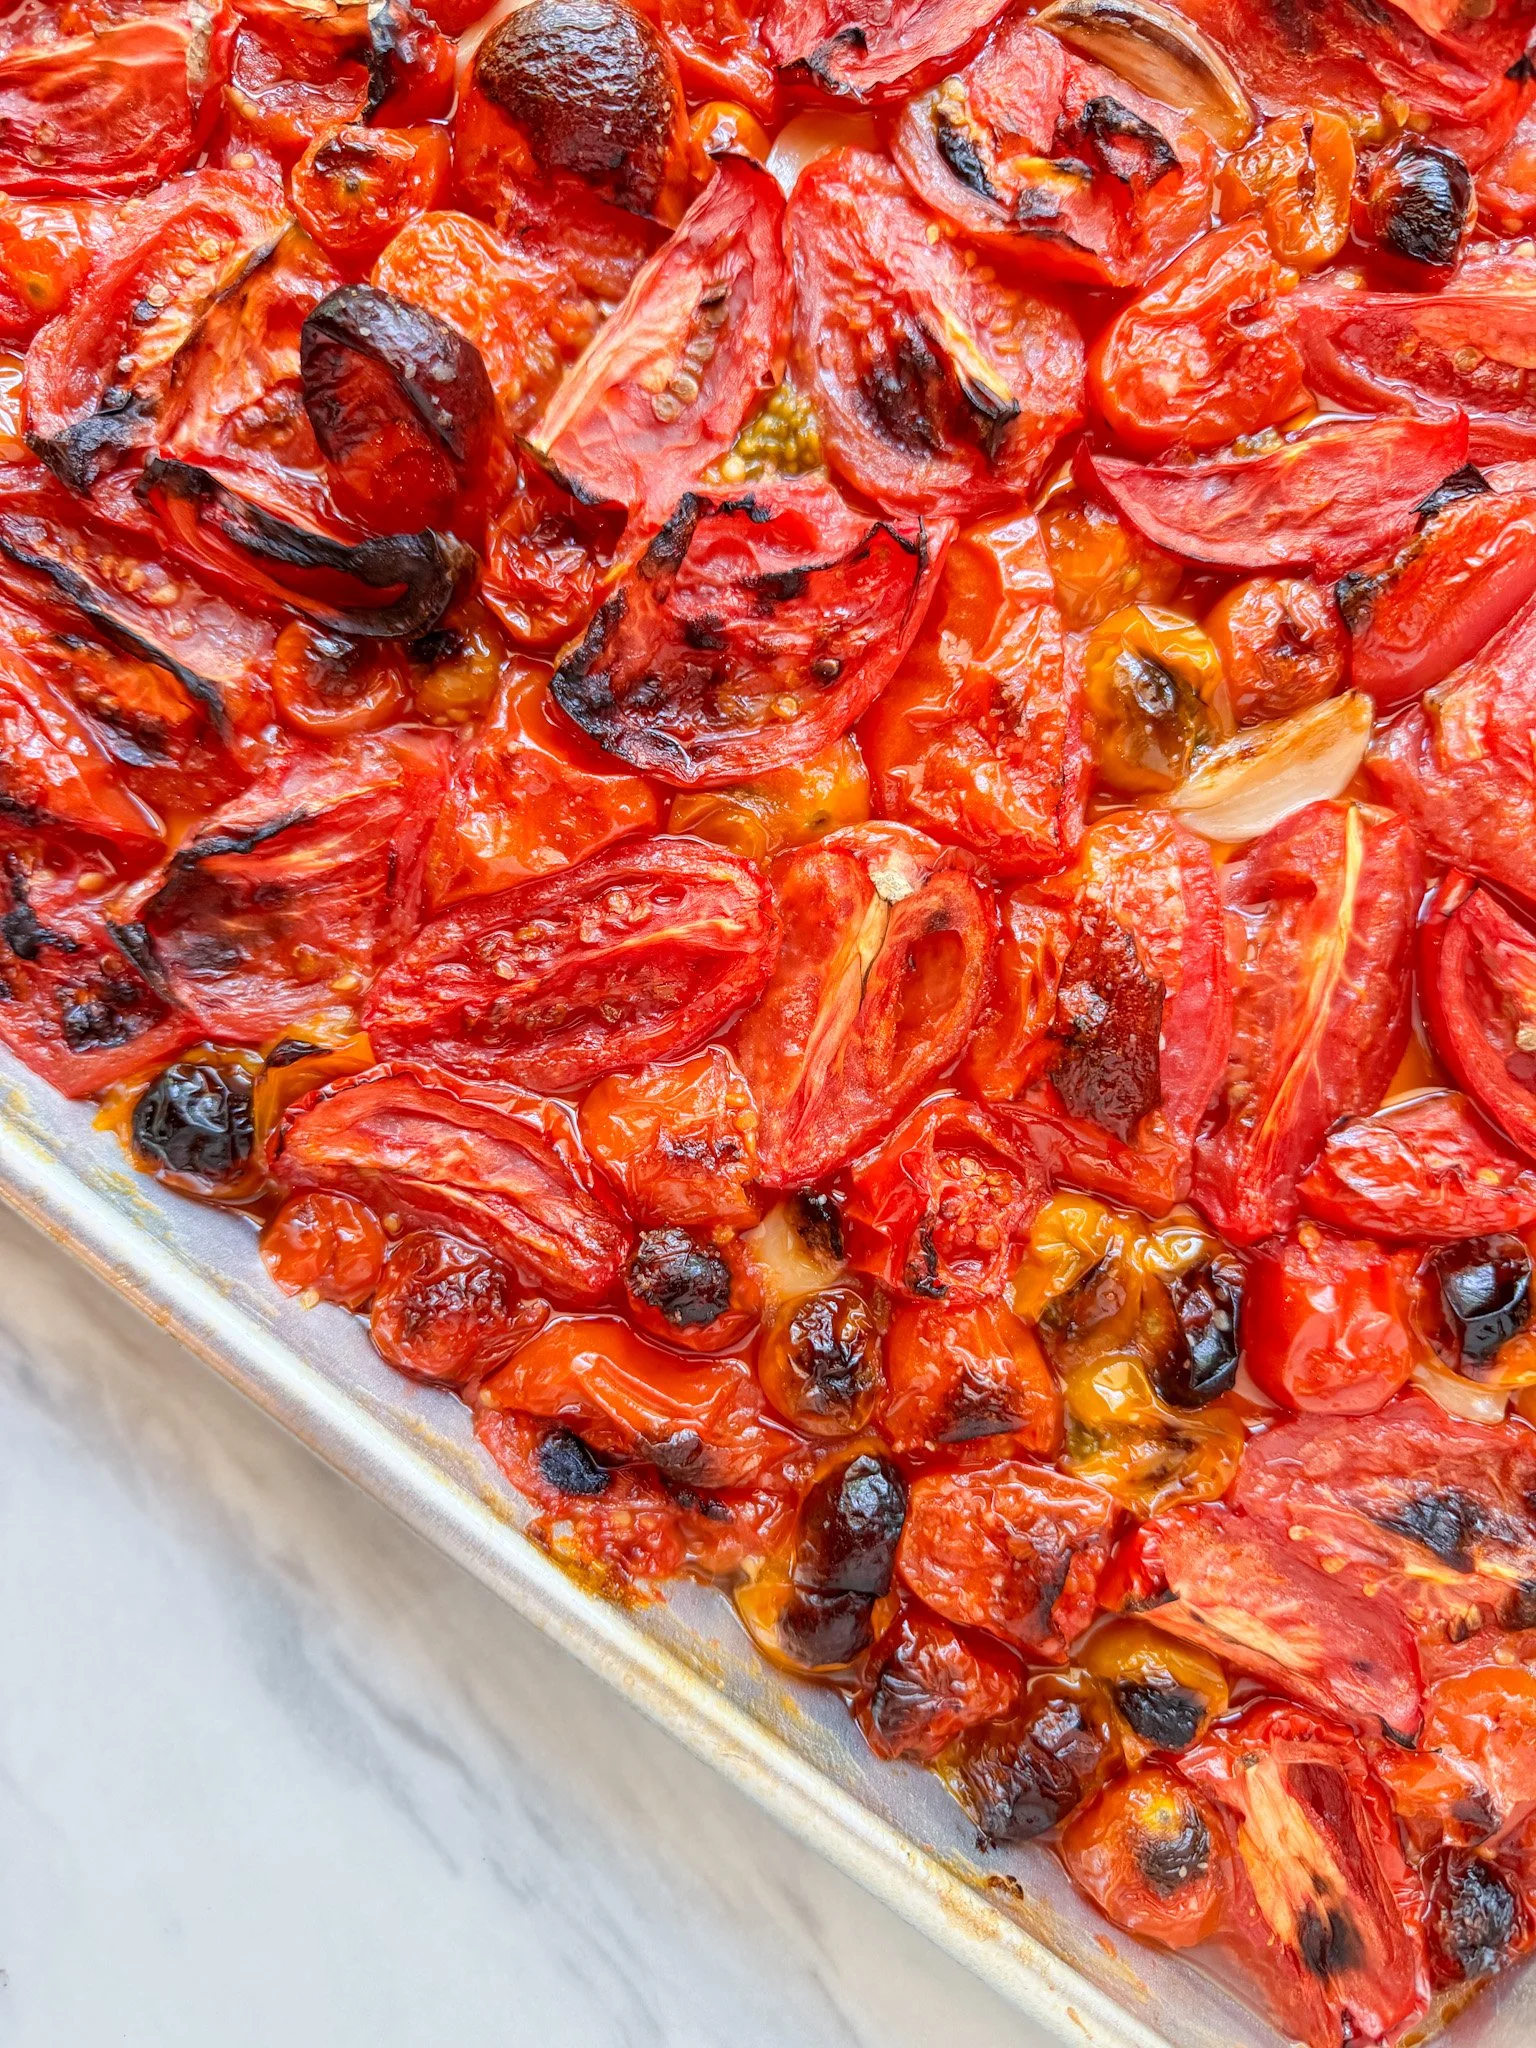
Roasting the tomatoes is an amazing way to bring out flavor, some of these garden tomatoes get so sweet and jammy with roasting that they are practically like candy. I actually have a hard time resisting just snacking on them right off the tray.
This isn’t so much a recipe as it is just some general guidelines. I don’t know what type and size and quantity of tomatoes you have - but it really doesn’t matter.
Here’s how to make simple roasted tomato sauce:

1) Cut your tomatoes into roughly similar size chunks. Cherry or grape tomatoes are usually left whole, smaller Romas I maybe cut in half, bigger tomatoes might need to be cut in several pieces.
2) Drizzle some oil over a sheet pan - I like to do this with a mixture of avocado oil for temperature tolerance and a nice olive oil for flavor.
3) Toss all the tomatoes on the sheet pan and stir them around a bit to get coated with oil, drizzle a bit more over the top if you like.
4) Add a few peeled garlic cloves.
5) Sprinkle salt generously over the top of the whole thing.
6) Stick the pan in the oven - I do mine on about 375 convection, but if you don’t have a convection oven you might want to try 400 degrees.
7) Check the tomatoes after about 15-20 minutes, maybe give them a stir, and keep cooking, checking again in 5-ish minute increments until you think they look ready. You can see the pic below of what mine look like. You want to start getting some browning and caramelization, maybe a few even darker edges but not too much, those cherry tomatoes should burst, some of the juices should start to reduce, the garlic should get a little browned and soft.
8) When you are satisfied with how the tomatoes look, take them out and let them cool for a bit.
9) Dump the whole thing into your high powered blender and puree until smooth. Taste and decide if you want to add more salt, or some fresh garlic, or a little basil or other herbs.
That’s it. Sounds like a lot of steps but it’s really quite easy. If you have a good blender then you shouldn’t have many whole seeds left, and a few little seeds don’t bother me. But if you’re going to be bothered by a few seeds you could put this through a food mill.

Homemade Teriyaki Sauce Recipe
A super quick and simple weeknight teriyaki sauce recipe.
(recipe card is below, just scroll down)
This a super simple and fast base recipe for an easy homemade teriyaki sauce that you can use on all kinds of easy weeknight dinners.
I lived in Seattle for 25 years, and my kids were born and grew up there. And it turns out that Seattle is the birthplace of American style teriyaki! Who knew?!? We think of teriyaki as Japanese food, but the version we know of it is actually an American invention, created by Japanese immigrants in Seattle and evolved over the years to suit American tastes.
In Seattle we were surrounded by teriyaki restaurants, it was actually the type of fast food restaurant that there were the most of. We got accustomed to eating a lot of teriyaki, it was the easiest default weeknight thing to pick up after busy days when we didn’t feel like cooking. But when we left Seattle we were a little surprised to realize that not every town had a teriyaki restaurant on every corner! So now it’s become one of my go-to easy weeknight dinners to cook for the family. It’s really just as simple as slapping some teriyaki sauce on pieces of chicken or slices of tofu, and sticking it in a hot oven for 15 - 30 minutes, just long enough to cook some rice and maybe microwave a bag of frozen broccoli.
It really had never occurred to me to make my own teriyaki sauce until one day I had promised teriyaki chicken to a kid for dinner, and realized I didn’t have any teriyaki sauce in my pantry. So I looked up some recipes for how to make it and it turns out that it’s very simple and fast. Seriously this can come together in like five minutes. If you do any amount of Asian cooking you likely already have all the ingredients you need. I do still buy bottled sauce occasionally because it is very nice to have around (this brand is my all time favorite), but more often these days I just whip up my own because it’s so fast and easy.
What you need for this easy homemade teriyaki sauce recipe:
The recipe card is below.
pineapple juice
soy sauce
brown sugar
honey
ginger (ground or fresh)
garlic (ground or fresh)
sesame oil (optional)
corn starch
sesame seeds (optional)
hoisin sauce (optional)
The recipe card is below with the specific measurements, but really they are all approximate and very flexible. My favorite combination of flavors is meant to imitate a combination of two of the flavors of that bottled sauce brand that I love (the island version with pineapple juice and sesame, and the hoisin garlic version)
Once you have everything together, you basically just chuck it all in a saucepan and whisk a bit as it heats up. Once the mixture gets up to a simmering temperature the corn starch will thicken up and then you’re done. It takes really like five minutes. Unlike flour, when you thicken a sauce with corn starch it’s done as soon as it starts to thicken, so it’s a very fast method.
Once you realize how easy it is to make your own teriyaki sauce you might never buy it from a store again.
This is not a traditional Japanese recipe. More traditional Japanese teriyaki sauces are not thickened or flavored as much as this, they really are much more of a simple light marinade. This version is adapted to our American tastes and is meant to be closer to what you’ll find in a neighborhood street corner teriyaki joint in Seattle. We like a more sweet and thick sauce to coat our teriyaki chicken.
A lot of the ingredients are listed as optional, because the great thing about this recipe is that it's really flexible. I’ve given you the basic way that I do it most of the time, and you can customize yours from there. So you can add more or less sweetness with the honey and sugar, more or less garlic or ginger, swap out the juice, leave out the sesame, etc. There’s no wrong way as long as you like how it tastes.
A few other notes about this recipe:
Most recipes have water instead of juice, and more sugar added. But I like the extra splash of flavor from the pineapple juice, and that it adds sweetness without as much processed sugar. But if you don't like pineapple you can just swap that out for water, and then you'll probably want to add a bit more sugar or honey. You could also use all brown sugar or all honey instead of a mix of both. I like the depth of flavor that the two different sweeteners add, but it’s not mandatory.
The corn start is for thickening, so feel free to adjust that amount if you like your sauce more or less thick. If you’ve not cooked with corn starch much, you need to know that it does need to be dissolved in cold liquid before adding to a hot sauce, otherwise you will get lumps. So if you decide you want your sauce thicker after it's simmering you will need to make a slurry with a couple tablespoons of liquid (water, juice, soy sauce, etc.) and then pour that into the simmering sauce while whisking to avoid lumps.
The optional hoisin adds a bit of extra depth of flavor and is intended to imitate the flavor in my personal favorite bottled sauce, but again, optional. You could try adding a little Chinese oyster sauce instead, I love that flavor too, and it’s especially great if you want to make a teriyaki salmon or other fish.
The sesame seeds don't add much flavor but they give a nice bit of texture. Feel free to leave them out if you don’t have them.
If you use fresh ginger you will need to let this simmer long enough to cook and break that down a bit, otherwise the enzymes in the fresh ginger will affect the texture of your meat.
Easy Pineapple Teriyaki Sauce
Ingredients
Instructions
Notes
The great thing about this recipe is that it's really flexible, so you can add more or less sweetness with the honey and sugar, more or less garlic or ginger, swap out the juice, etc.
- The corn start is for thickening, so feel free to adjust that amount if you like your sauce more or less thick. It does need to be dissolved in cold liquid before adding to a hot sauce though, so if you decide you want your sauce thicker after it's simmering you will need to make a slurry with some water (or juice, soy sauce, etc.) and then pour that into the simmering sauce while whisking to avoid lumps
- The optional hoisin adds a bit of extra depth of flavor and is intended to imitate the flavor in my personal favorite bottled sauce.
- If you don't like pineapple you can just swap that out for water, and then you'll probably want to add a bit more sugar or honey.
- The sesame seeds don't add much flavor but they give a nice bit of texture. Feel free to leave them out.
- If you use fresh ginger you will need to let this simmer long enough to cook and break that down a bit, otherwise the enzymes in the fresh ginger will affect the texture of your meat.
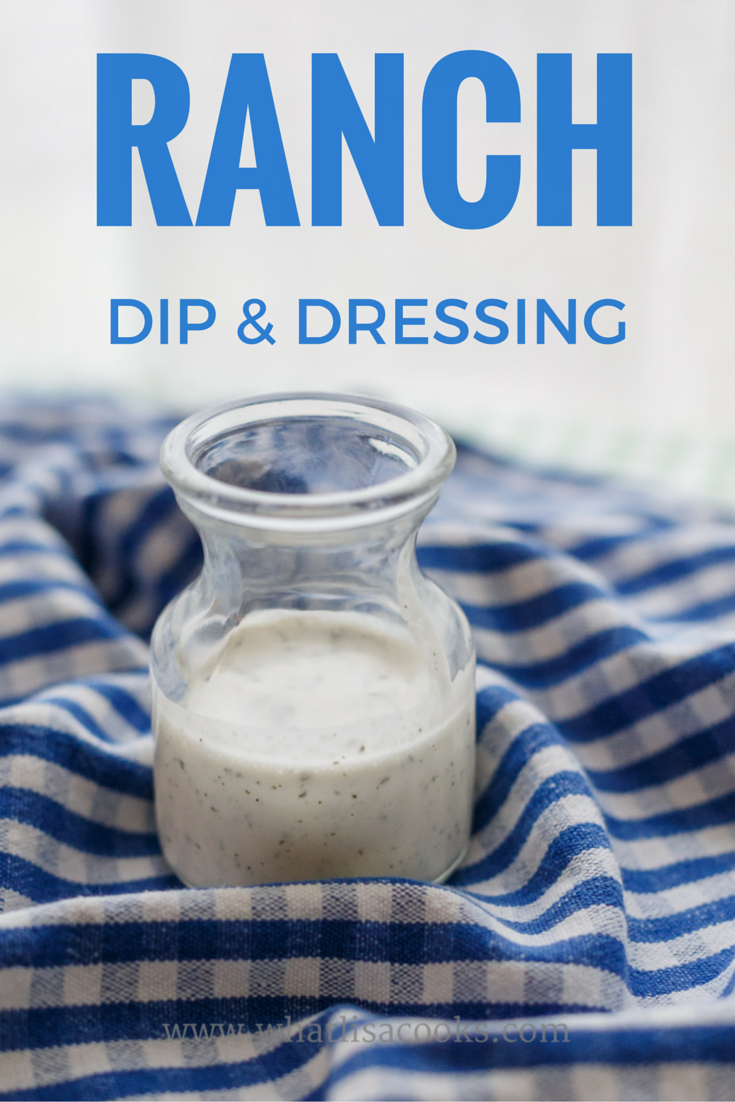
Homemade Ranch Dip & Dressing
Ranch dip and ranch dressing have become classic flavors that a lot of us could not picture life without But do you really need to buy it in a bottle? I don't think so. It's so easy to make from just ingredients that you probably already have in your pantry & fridge, there's really no need to ever buy it again!
This is a light and tangy sour cream & yogurt based Ranch Dressing recipe. A lot of ranch recipes call for mayonnaise. Now don't get me wrong - I LOVE mayo. But not in ranch. I want my ranch dip to be light and tangy. And by light I don't mean low fat - you'll notice that I'm using full fat sour cream, yogurt, and milk - but I mean not oily, not heavy, not that richer flavor that comes with mayo. I just prefer it this way. But honestly you could take this basic blend of seasonings and add it to whatever combination of cream/yogurt/mayo/milk/etc. that you like. It will taste great.
I don't think you can have a summer spread without crisp veggies and a homemade ranch to dip them in! Ranch is also basically my favorite summer salad dressing - I just find it so cool and refreshing.

Ranch dip and ranch dressing have become classic flavors that a lot of us could not picture life without But do you really need to buy it in a bottle? I don't think so. It's so easy to make from just ingredients that you probably already have in your pantry & fridge, there's really no need to ever buy it again!
This is a light and tangy sour cream & yogurt based Ranch Dressing recipe. A lot of ranch recipes call for mayonnaise. Now don't get me wrong - I LOVE mayo. But not in ranch. I want my ranch dip to be light and tangy. And by light I don't mean low fat - you'll notice that I'm using full fat sour cream, yogurt, and milk - but I mean not oily, not heavy, not that richer flavor that comes with mayo. I just prefer it this way. But honestly you could take this basic blend of seasonings and add it to whatever combination of cream/yogurt/mayo/milk/etc. that you like. It will taste great.
Ingredients:

1 cup sour cream (get some real sour cream, not one with a bunch of thickeners and extra stuff)
½ cup plain whole milk greek yogurt
Up to 1 cup whole milk, depending on whether you want this more for dipping or pouring
2 tablespoons freshly squeezed lemon juice
2 tablespoons dried parsley
1 tablespoon dried chives
1 1/2 teaspoon kosher salt
1 1/2 teaspoon onion powder
1 ½ teaspoon garlic powder
1 teaspoon freshly ground black pepper
1/2 teaspoon dried dill
I wanted this to be a recipe that I could make with things I always have in the house. A lot of recipes call for buttermilk, but I don’t usually have buttermilk just hanging out in my fridge. You could certainly swap out the milk + lemon juice for buttermilk if you have it or prefer it, but I like flavor of the lemon juice anyway. You don’t have to include the yogurt, you could just use all sour cream, but I like the tanginess that the yogurt adds. The quantities of seasonings are definitely all about personal taste. Sometimes if I’m looking for more zing I’ll add a lot more of some or all of the seasonings.
So, in keeping with my usual style, this "recipe" is more of a guideline to get you started.
Directions for Dressing: throw all the ingredients together and mix well. I like to make mine in a Blender Bottle, it’s easy to mix and easy to pour out of. But you can just as easily mix in a bowl with a whisk, and then pour in a jar.
Directions for Dip: mix together everything except the milk. Then add milk a little at a time until it's the thickness that you want for dipping.
The milk is where you can control the thickness – if you want a thick dip, don’t add the milk at all (and I would cut back on the lemon juice a little). If you want a nice, pour-able dressing, add up to a cup of milk. If you’re going to leave out the milk altogether (and most of the lemon juice), then the blender bottle probably won’t work as it will be too thick, I would just put it all in a bowl and stir until well mixed.
You can totally make this right before serving, just try to let it sit for at least 10 minutes or so. But it’s really better if you can make it ahead. This is a big recipe – double the size of some of the original ones I looked at for ideas. If you're making dressing it will give you enough for several salads, or it will be a good size bowl of dip for a party. If I’m going to make something I always like to have extra. Making something from scratch does take a little more time than just opening a bottle, but if you've made extra then the next time you want it you do get to just go to the fridge and open a bottle.
If you want to make this even faster the next time - just go ahead and double, triple, quadruple the dry ingredients and store them in a jar. Then all you have to do is mix it in with the wet stuff.
Enjoy!

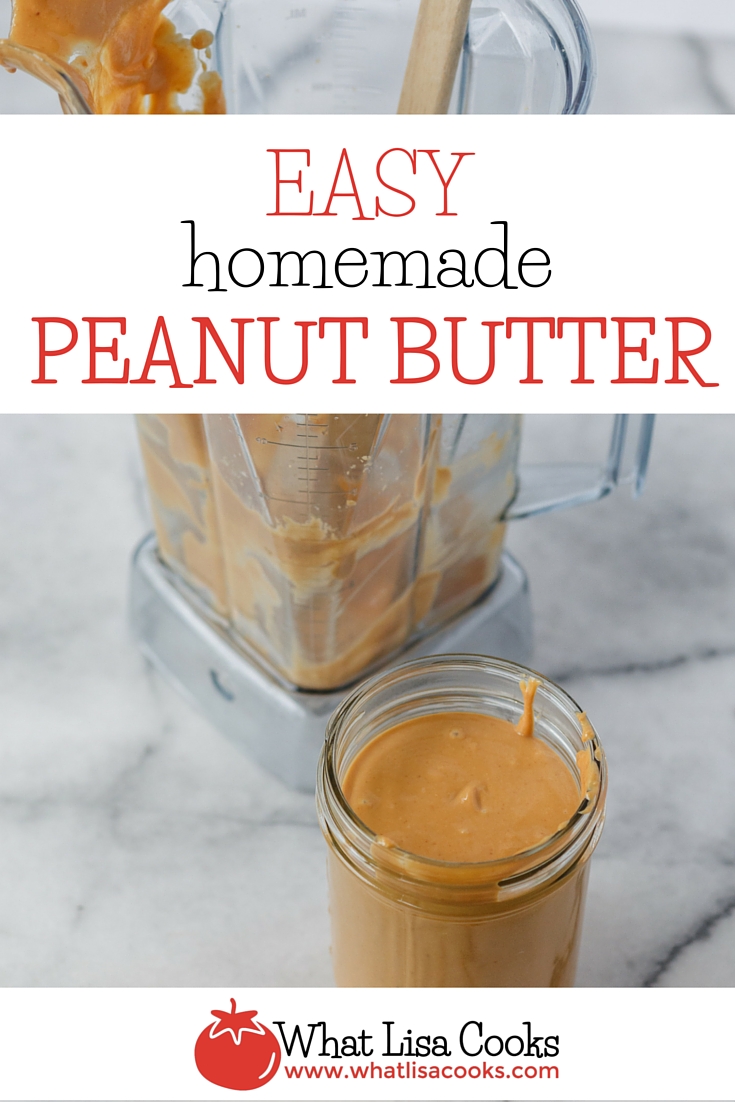
Quick and Easy Homemade Peanut Butter
I really had no intention to make peanut butter. Don't get me wrong, I love the idea of homemade nut butters. I've done sunbutter before, and it was great. But I try to prioritize my time and making all my nut butters at home has never really made it to the top of my list of things I should be doing.
But I love peanuts. I mean, I love roasted, salted peanuts. A quick handful or two is an awesome snack - it satisfies my need for crunchy and salty, and gives me a little protein. I bought some peanuts a couple weeks ago, thinking I was buying roasted and salted peanuts. Only to get home and realize that what I had grabbed was roasted and NOT salted. (That's what happens when you're trying to squeeze in a quick grocery trip in between pickups and dropoffs.) As far as I'm concerned, there is no place in my life for snacking on nuts that aren't salted. I know you raw nut lovers can disagree, but I love my salt.

With four kids, we go through a lot of peanut butter in this house. I buy lots of it, but sometimes it's fun to figure out how to make some of our everyday things from scratch.
And I can definitely tell you - once you've had fresh homemade peanut butter, you will not want to go back. Especially if you can make it with fresh peanuts. I recommend buying them from the bulk bins at someplace that goes through a lot of bulk food, so you know they haven't been sitting around for very long.
Not only does it taste amazing, but it's so easy!

Basically, I took a pile of peanuts and dumped the whole thing into my Vitamix, added a dash of salt, and voila! Peanut Butter.
Ok, it wasn't quite that magical.
But it was close. I had to coax it along at first - pulsing off and on, pushing it down several times. But once it got going and all that oil was released, it very quickly turned into a super smooth and almost liquid consistency. Amazing how something that seems so dry can turn into liquid! And the whole process took less than 5 minutes.
Ingredients:
1 pound roasted shelled peanuts.
1/2 teaspoon (or so) kosher salt.
A drizzle of honey to taste (optional)
Directions:
Put peanuts and salt in blender. Pulse and push down until the peanuts start to release their oil. This is the only slightly labor intensive part. It takes a bit of coaxing to get it going. But once they start to release their oil then you can move faster, and blend to the consistency you prefer. We like creamy peanut butter here, so I really let it go until there were no chunks left. Once you think it looks good, taste it. At this stage you can add a little honey if you like your peanut butter lightly sweetened (most popular commercial peanut butters have sugar in them), and you can also add a little more salt if you like, and then just blend long enough to get that well mixed in.
Pour in a jar, let it rest to firm up just a bit, and then get out the bread and jam, because you're going to want to make a sandwich.
Also note - you can follow this same technique with basically any kind of nuts or seeds. I've also made sunflower seed butter this way, and it tastes great. If the seeds or nuts you buy aren't already roasted, then you'll want to either roast them in the oven or toast lightly in a pan first, to really bring out the flavor.

Easy Wasabi Mayonnaise
Do you ever get takeout sushi and wonder why the heck they give you SO MUCH wasabi?

Maybe it's just me, I don't know. I personally think a little wasabi in the sushi goes a long way - I like a little heat, but I also like to taste my sushi. So I always end up with extra wasabi.
But I may have mentioned before how I hate to waste food. Especially when it's the good stuff - like when we order sushi from a good place and they give you the real fresh grated wasabi.
So a friend turned me on to this tip and I've been doing it ever since: use the leftover wasabi to make wasabi mayonnaise. It's genius in its simplicity.
Just mix the wasabi into a jar of mayo - I think about a tablespoon of prepared wasabi to about a half a cup of mayo is about right for my taste. But this is really one that you can do however you like. If you like more kick, then you more wasabi. If you want it mild, then use more.
It's awesome on sandwiches, or for dipping veggies in. I love mayo on grilled or roasted veggies, and this is a great way to give it a little extra kick.
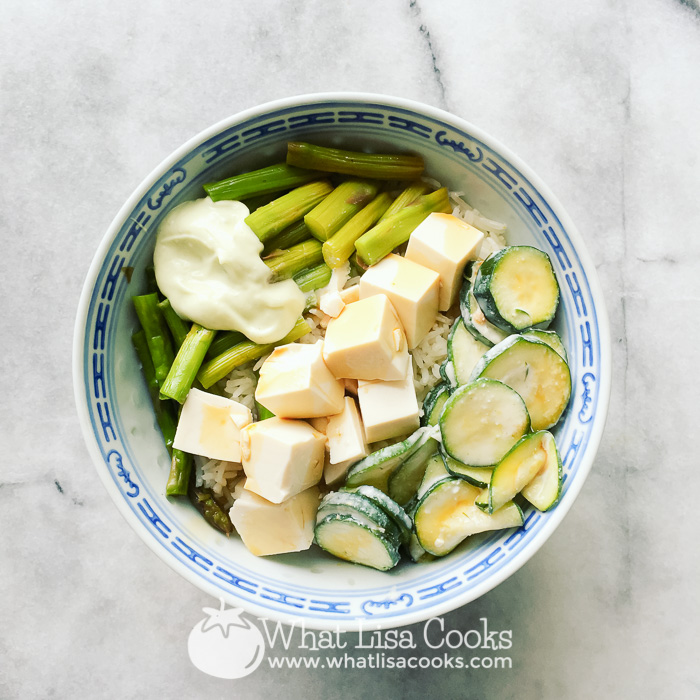
The other day I made myself a rice bowl for lunch, with brown rice, tofu, zucchini and some leftover asparagus. A good dollop of the wasabi mayo on top was the perfect to take it from ordinary leftovers to something really delicious.