Pressure Cooker "Boiled" Eggs
I've tried every trick out there for cooking easy to peel eggs. EVERY. TRICK. And I don't think there was a single one that worked consistently. Some methods would work one time, and then not the next time.
Then I discovered cooking eggs in my pressure cooker.
I'm telling you - perfect eggs every time, and the shells practically fall off.
If you have a pressure cooker and haven't hard cooked eggs in it yet, you must try. And if you like hard or soft boiled eggs but you don't have a pressure cooker - you must get one!
If you don't yet have an electric pressure cooker - let me just take a moment and tell you about mine. Don't be scared - they are not the dangerous things they used to be. They are electric and easy to program and super safe.
I have two! The first one I've had for several years and it is my favorite - is the Cuisinart Pressure cooker. It's a workhorse. The second one I had to try because everyone was raving about it is the Instant Pot. They are both great, and they both have their advantages. The Instant Pot is a multi cooker - it can be a slow cooker and a pressure cooker and a rice cooker and a yogurt maker, and I guess it does even more than that because they call it a 7-in-1 cooker. If you really think that you will use all those other features, then it is a great choice. But as for just pressuring cooking, I like the Cuisinart best. It has more options for adjusting your pressure cooking settings, and more options for timing, simmering, and sauteeing your ingredients before you start the cooking cycle. Those things are also possible with the Instant Pot, but I just find the Cuisinart to be more intuitive and easier to program and use. Also, it's less expensive. Either way though, you can't go wrong.
Anyway, back to the eggs. Here are the instructions.
Pressure Cooker Eggs:
Place a rack or trivet in the bottom of your cooker pot
Add about a cup of water - I like to use hot water just to get it going faster. You want the water to be under the rack, not touching the eggs. (be sure to read the directions on your cooker for the minimum amount of liquid you can use - I think it's about a cup for most.)
Carefully place eggs on the rack. A lot of recipes you read for this have you putting them in separate little cups or making little foil nests for them. I have never found this to be necessary and it just takes more time. Yes, occasionally one or two will crack, but I've found that this happens regardless of whether you "nest" them, so I really don't see the point. You can cook just one or two at a time if you prefer to eat them warm (best for soft cooked eggs), or I can fit about 10 at a time in my cooker without crowding them too much.
Close your cooker and set it to low pressure.
Cook according to the times below.
When your time is up - use the quick release method and get the eggs in an ice bath to quickly stop the cooking. I sometimes just dump a bunch of ice and cold water right in the pressure cooker pot on top of the eggs. This is quicker than lifting them out one at a time.
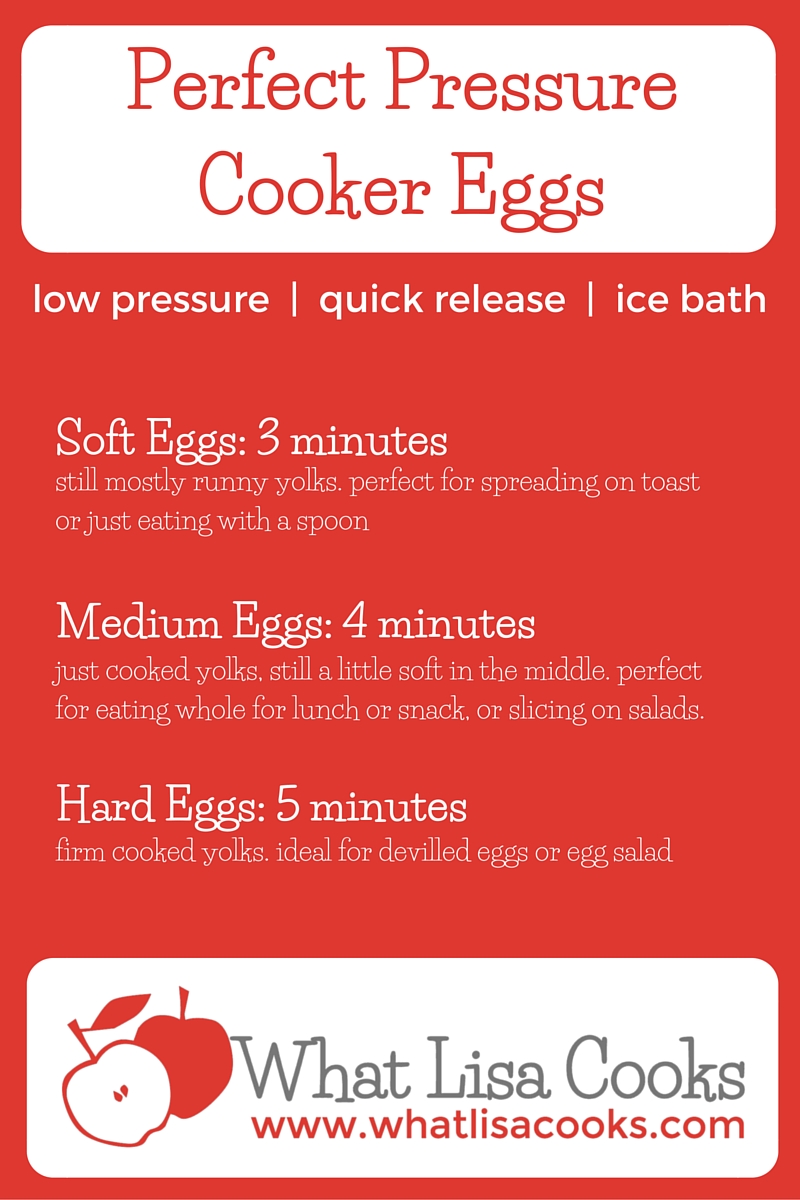
Cook times for pressure cooker eggs:
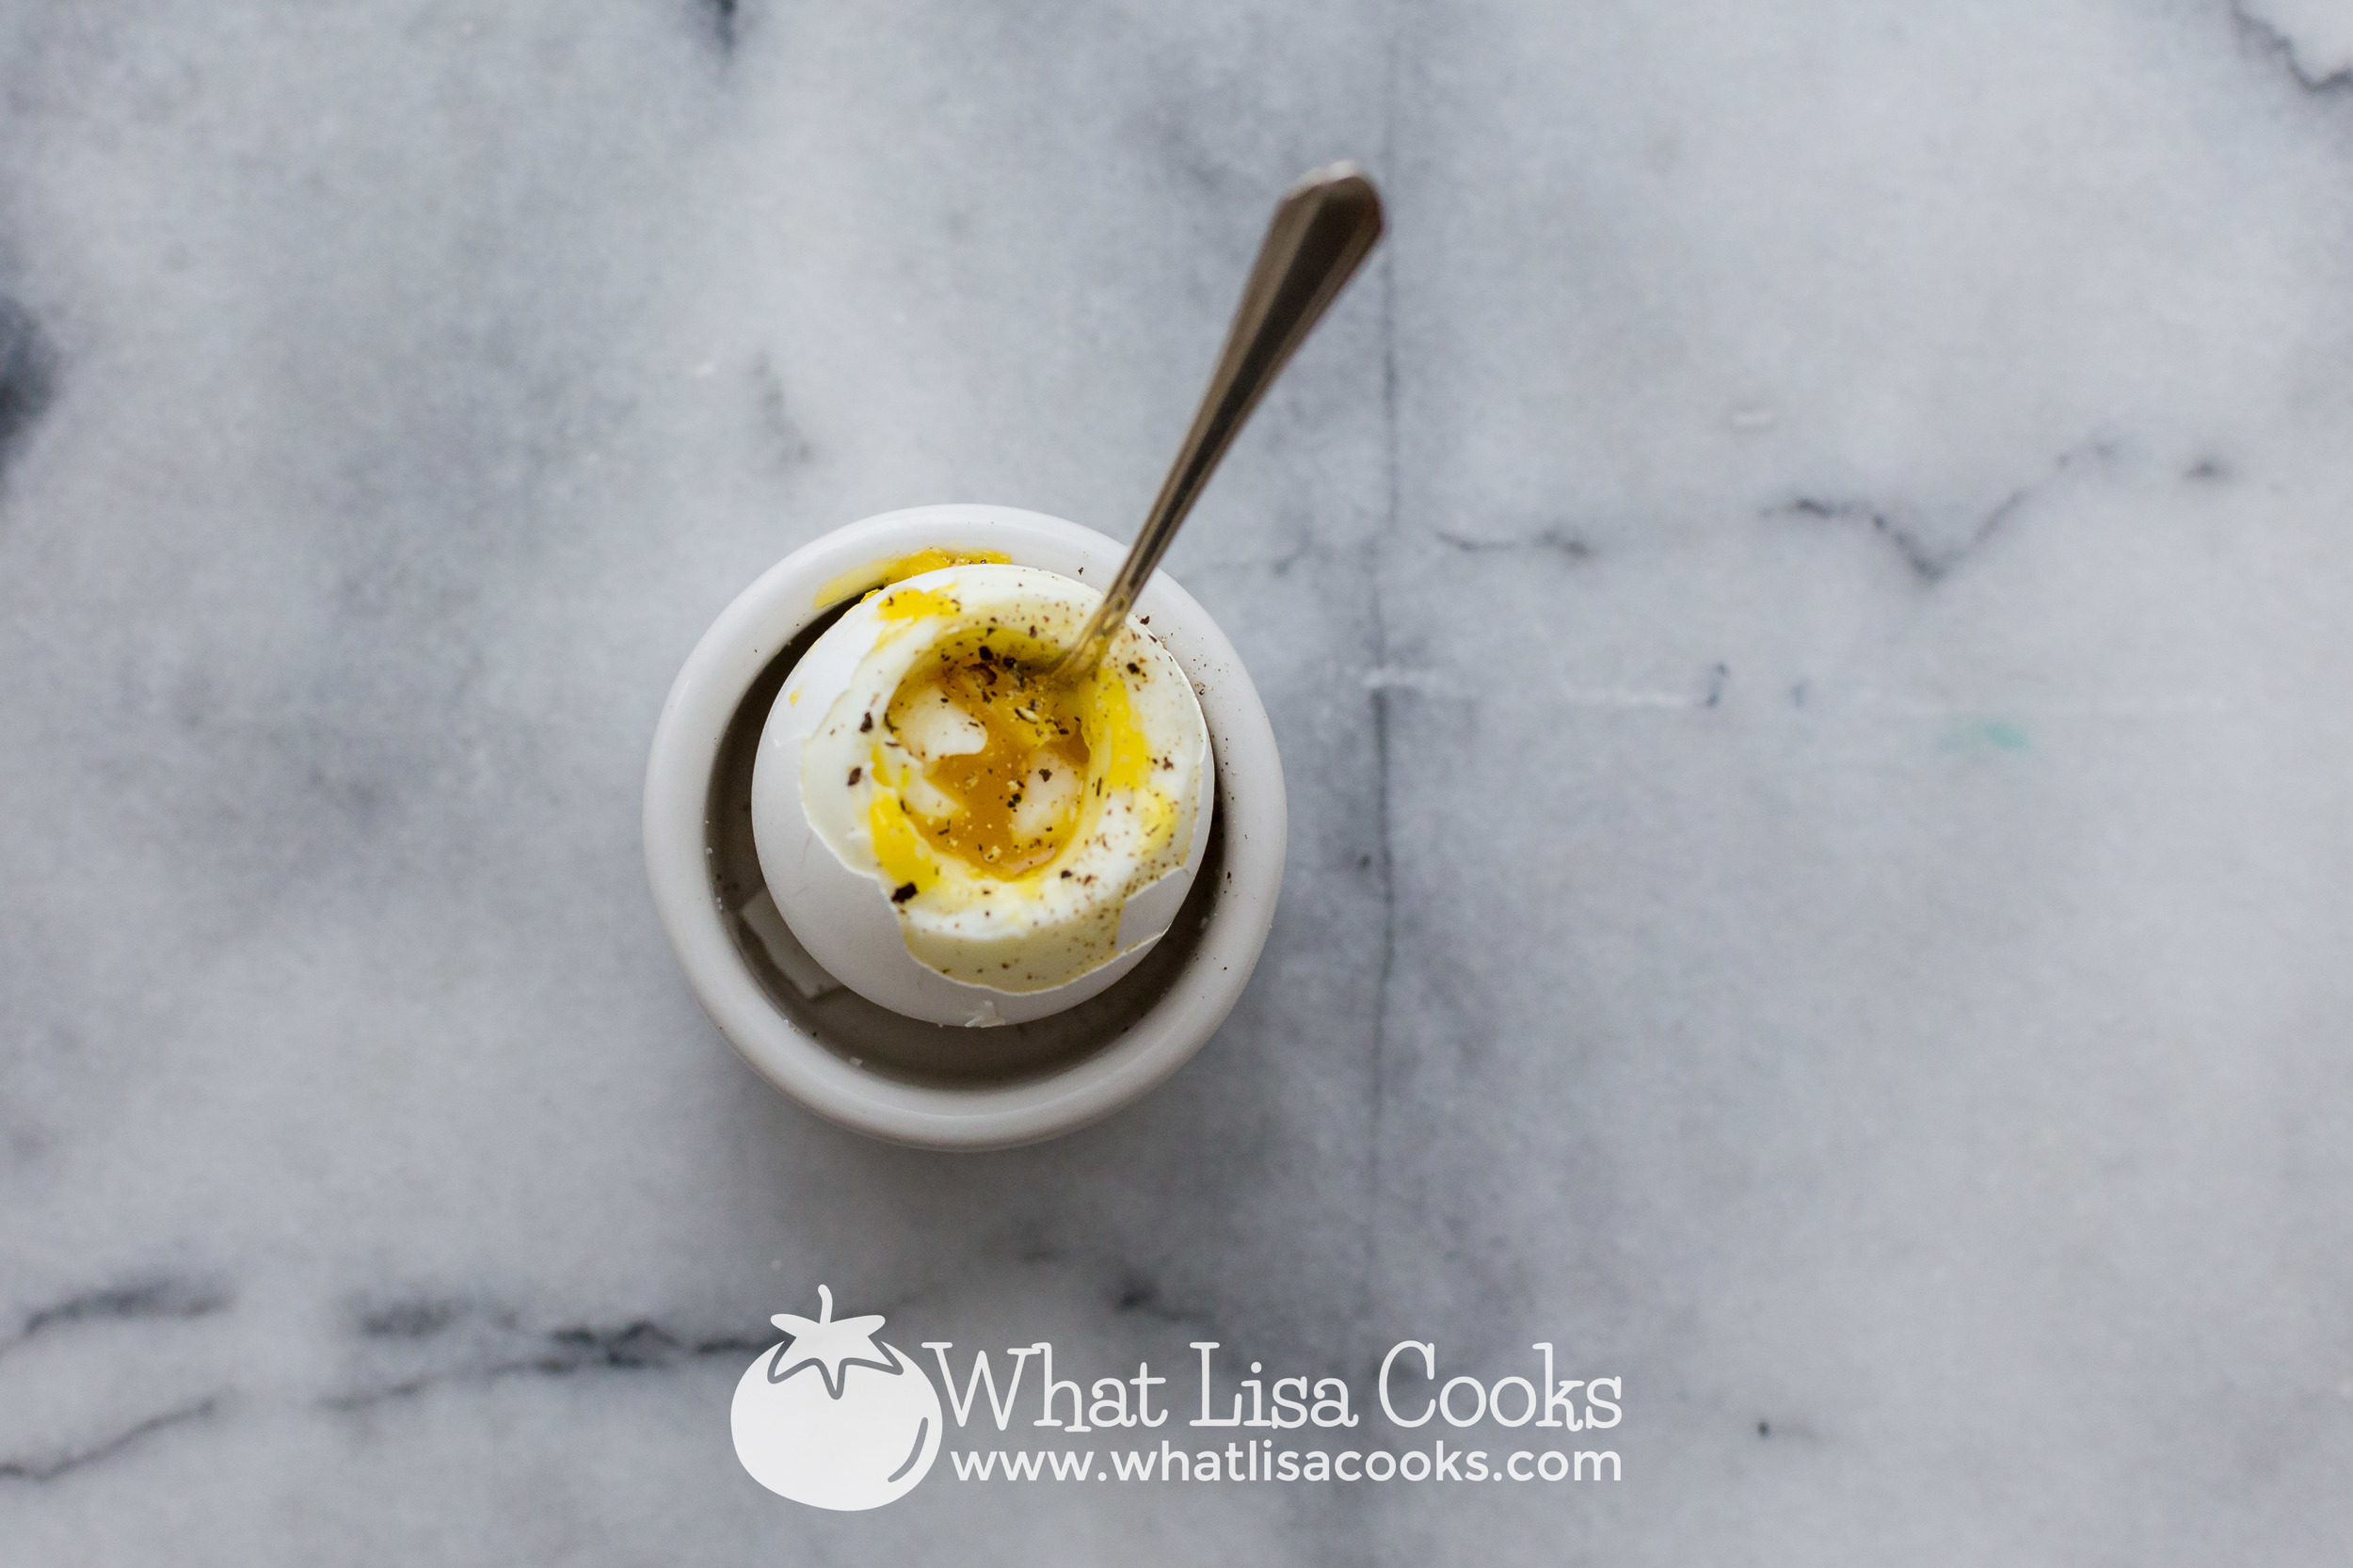
Soft Cooked: 3 minutes on low pressure, quick release, ice bath. These will have still slightly runny yolks. I LOVE these for breakfast - either mashed up on toast or just lop of the top of the shell and eat them with a spoon.
Medium Cooked: 4 minutes for on low pressure ,quick release, ice bath. These will have just solidified yolks, maybe sometimes with a small dot of wet still in the very center. This is my favorite if I'm making eggs to peel and eat whole for lunch or snack. I personally love to dip them in salt. I think this is also perfect for slicing on a salad.
Hard Cooked: 5 minutes on low pressure, quick release, ice bath. These will have fully solid yolks. This is best for making deviled eggs or egg salad.


